How to Use PDF to JPG Converter for Mac
Learn to Use PDF to JPG Converter for Mac Step by Step
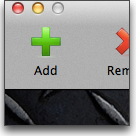
1 - Add PDF Files to the File List
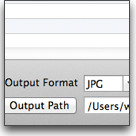
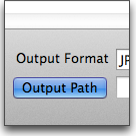
Click on the Add button to select PDF files and add to the file list. Or you can simply drag and drop PDF files onto the application drop zone to add.2 - Select the Output Image Format
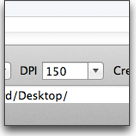
Click on the Output Format and select the output image format you want to convert to. The output format is JPG by default.3 - Set the Output Image DPI
Click on the DPI list and select the output image DPI (Dots per Inch). By default the converter sets 150 DPI to get good quality output, however you can set it higher if you want to get high quality images. If you want to get thumbnails, you can set it lower to 32.NOTE: Higher than 500 DPI will take the conversion time much longer and also needs much more disk space. Normally the original DPI of a PDF file is 72.
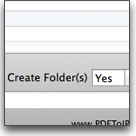
4 - Create New Folders or Not
Create Folder(s) is another option nearby the DPI. Normally it is set to Yes, which means the program will automatically create a new folder for each converted PDF images, so that will not mix all files' images together. If you turn it to No, the converter will export images from all PDF files in the list into one same place. The No option is very good for single page PDF files conversion.5 - Output Path
Click on the Output Path button to set the output folder of converted images.6 - Start the Conversion
Click on the Convert Now! button and then the conversion task will be started immediately.